
SD-Box
Upon creation, CASD started studying various ways to grant access to its central IT infrastructure. After visiting foreign access centers providing similar services in Europe, a list of requirements and constraints for the access was established:
- High security level required
- Easy installation for a user
- Low impact on user IT environment
- Automated maintenance
- Low dependency on local IT infrastructure
Software solutions were quickly discarded, as they were deemed unsafe and invasive with high cost and heavy installation requirements. Having only a few units equipped with biometric card readers and adding such peripheral computer equipment could have become a nightmare. Software resting on system components, hardware managed by different staff, and the maintenance and assistance for the system would have rapidly become very problematic.
CASD chose to develop an integrated solution: SD-Box.
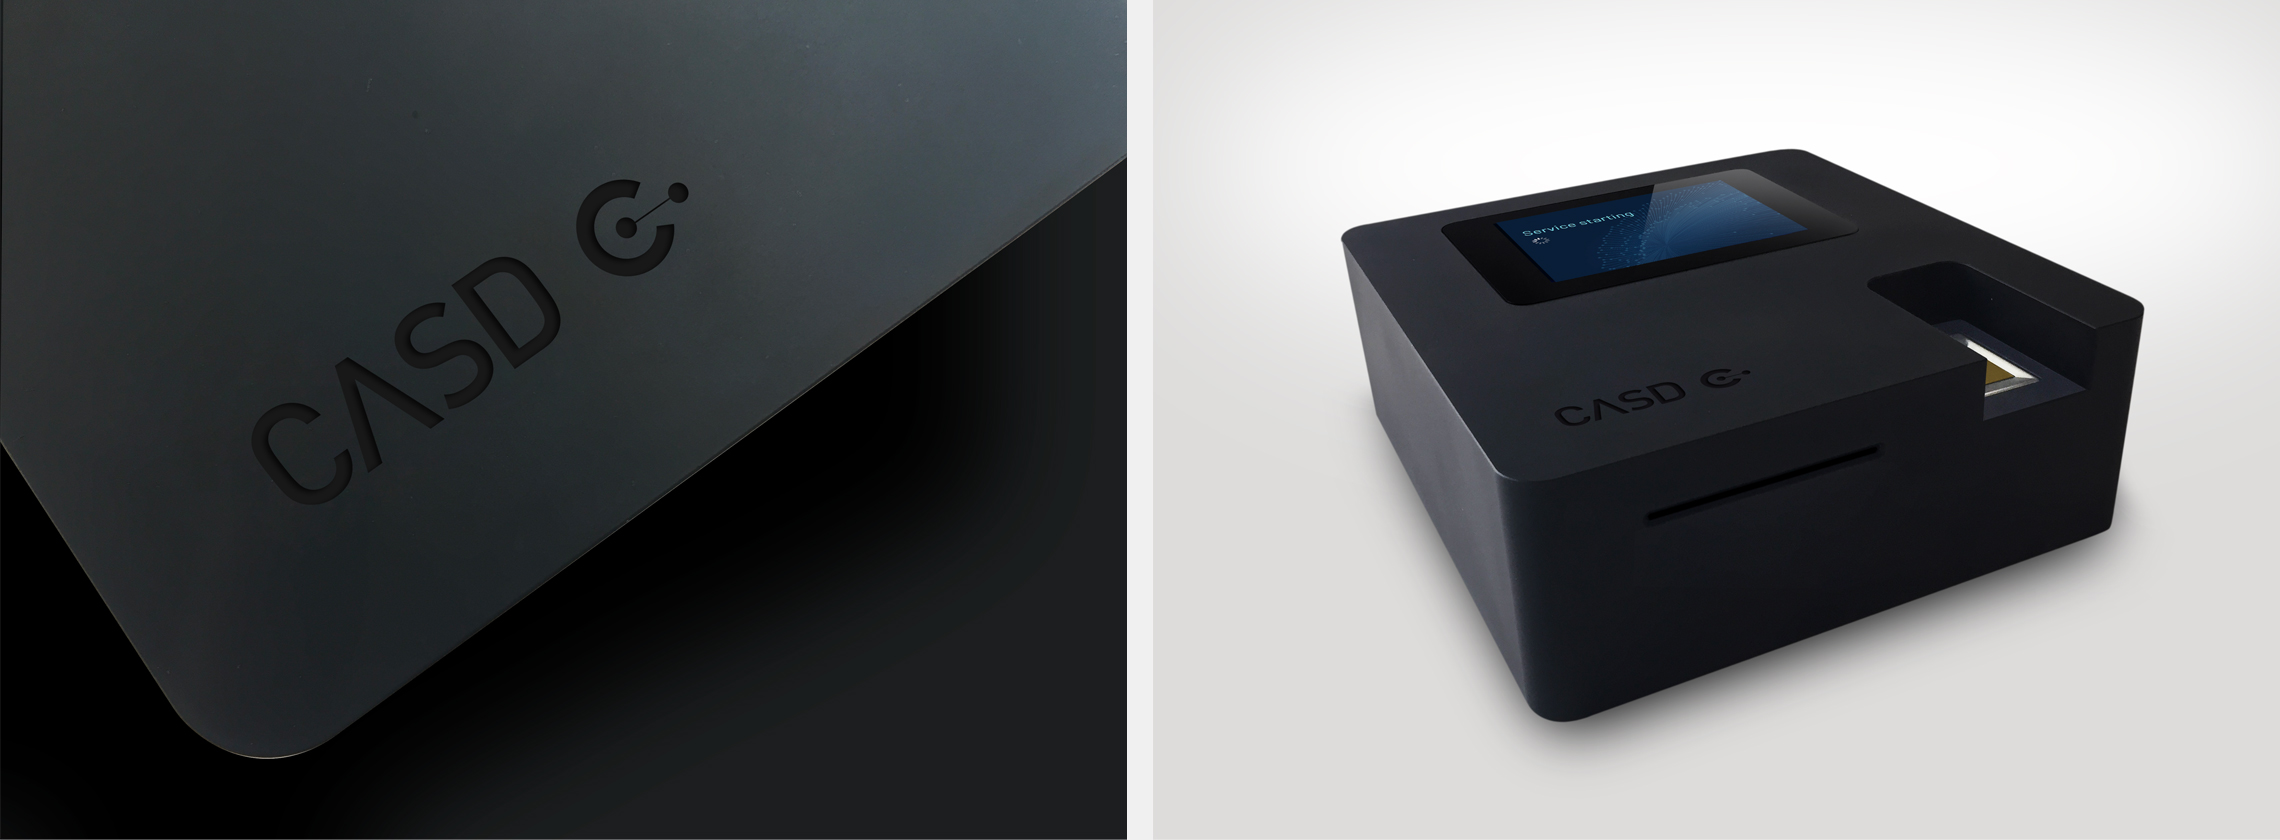
The SD-Box is an autonomous terminal designed by CASD which very simply consists of a single unit with all elements necessary for the services it must provide enclosed. Its on-site installation is fairly simple. To be operational, this central unit requires: an Internet connection, electricity, a screen, a keyboard, and a mouse. It is completely independent from the user’s local work environment and may be shared by more than one authorized user.
Once plugged in and configured, the box maintains a permanent link with the CASD central infrastructure to enable the interaction between the user, their project server, and the management system of the Box (i.e. maintenance, security and updates).
To open a session on their project server, the user must simply verify that the device is online, insert the card (provided at an enrolment session) and, finally, place their finger on the biometric reader on the Box.
How to use
Once configured the SD-box automatically attempts to connect to the CASD central infrastructure and signals the infrastructure that it is now ready for a user (to use it). The SD-box is designed to be powered on a 24/7 basis in order to be ready-to-use without any delays due to updating or maintenance.
To open a session on your project server
Check that the Box is online and says “You may connect”.
Put your card in with the chip facing down.
Wait for the system to tell you, and then press your finger.
You will be asked (on your computer screen) to do this twice
To leave
Once your work is done, close your session from the project server.
The Box will then ask you to withdraw your card. If need be, the device can now be used by another CASD user.
Your session remains active in the server, and you may reconnect at any time with any SD-Box.
Be sure to close your session when finished to enable the system to perform needed updates.
Installation
Installing an SD-box is simple and requires only minimal preparation.

0 : Power switch
1 : VGA or HDMI cable (screen is not included)
2 : Plugs for mouse and keyboard (both not included)
3 : Plug for Ethernet cable (cable not included)
4 : Plug for electric cord (power supply unit included with the SD-Box)
BASIC INSTALLATION
- To use the SD-Box, simply plug in a screen, mouse and keyboard and use Ethernet (RJ45) material.
- To start the SD-Box, press the “on” switch at the back of it. The VGA or HDMI cable must be plugged in before you start the SD-Box.
- An SD-Box is by default configured in DHCP and will lock onto its IP number, if you use a DHCP port.
- CASD must be provided with the IP public address or an IP output range through which the SD-Box is to be connected.
NETWORK
- Using the arrow buttons, choose NETWORK then DHCP (press “up” arrow) or “IP Statique” (press “down” arrow).
- If ever the IP is manually configured, enter: address, mask, gateway, DNS1, DNS2 using the arrow buttons.
- You need to know the MAC address for the SD-Box, choose INFORMATIONS in the main menu.
- If you are using a proxy, configure the IP address and the port on the SD-Box using the PROXY menu (it should not require authentification).
- We ask that the SD-Box be able to connect using the 443 port to at least one of the following addresses: casdt.casd.eu (85.90.60.118), casdt2.casd.eu (45.94.128.83), casdt3.casd.eu (45.94.128.68) and casdt4.casd.eu (85.90.62.215)
DISPLAY
- The SD-Box has a VGA and HDMI output and can withstand many resolutions. To configure it, choose DISPLAY in the configuration menu and use the arrow buttons, then press OK.
OPERATING TIPS
- When all is configured, and after rebooting, the SD-box will show “Service Starting”. If all goes well, it will show the serial number (SDBOX-X-9999) as well as the message: “You may connect”.
- You should then leave your SD-Box powered day and night. It will automatically download and install security updates.
MAINTENANCE AND DIAGNOSTICS
- If any issue arises, an error message will appear (i.e. No_Link, DHCP_Error, Unreachable_gateway, no_DNS_resolution, unreachable_sstp_server, unknown_error).
- No_LINK: Check your network cable
- APIPA_Detected, DHCP_Error, Unreachable_gateway: Check your network configuration.
- Unreachable_sstp_server: Be sure to have already sent us the technical form for the IP address of your institution hosting the SD-Box.
Cleaning and disinfection of the SD-Box
To disinfect your SD-Box :
- You can use a dry wipe (or a soft tissue), which you moisten with a little 60-70% alcohol or window cleaner.
- Do not spray liquid directly onto the box: it could seep in and cause breakdowns.
- Start with the sensor and rub it lightly: it is the most fragile part that should not be scratched, otherwise it will cause irreversible recognition defects.
- It is not necessary to switch off the SD-Box to clean the sensor.
- You can then and if necessary, clean the display, the buttons on some models, and the body of the box. For this operation, it is preferable to switch off the SD-Box to avoid accidental activation of the configuration menus.
- The keyboard and mouse can be cleaned in the same way.
- You can also each use your own keyboard/mouse to avoid the systematic cleaning of these peripherals.
- Do not reuse the wipe.
If in doubt, please contact us at service@casd.eu.